“I have email texts in an Excel file including new lines but when I send the email with Power Automate it removes all of them!”
When working with the free version of Power Automate, you probably use one of these applications as a database – SharePoint or an Excel file. Yet depending on the data type it might make a big difference in the rest of the flow. It applies mainly to the dates, but also the text columns can make a difference – especially those containing new lines. How does Power Automate recognise the new lines from an Excel file? And how can you keep them e.g. to send an email with a formatted text?
Use the correct new line character
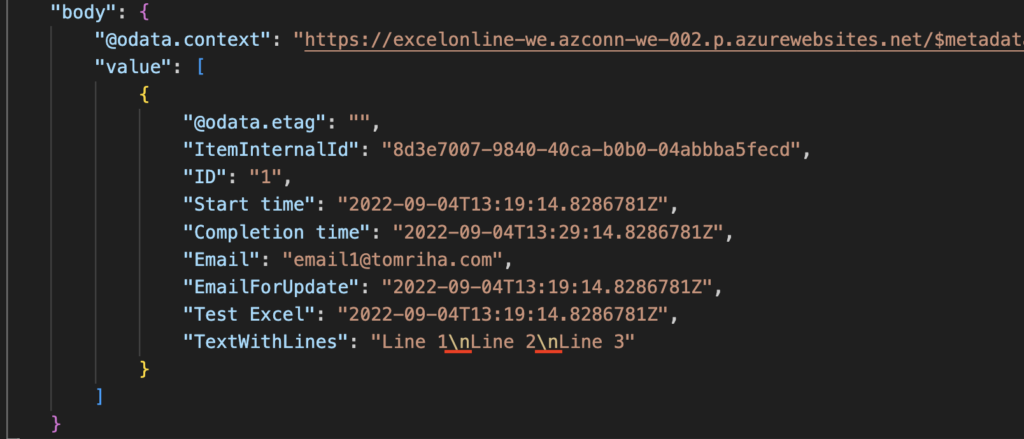
Unlike the new line character in the flow designer, Excel uses a different representation. If you ‘List rows…’ and check the output, you’ll see that the new line is represented by the \n character.


It’s part of the returned string, there’re no special, invisible characters, just the \n.
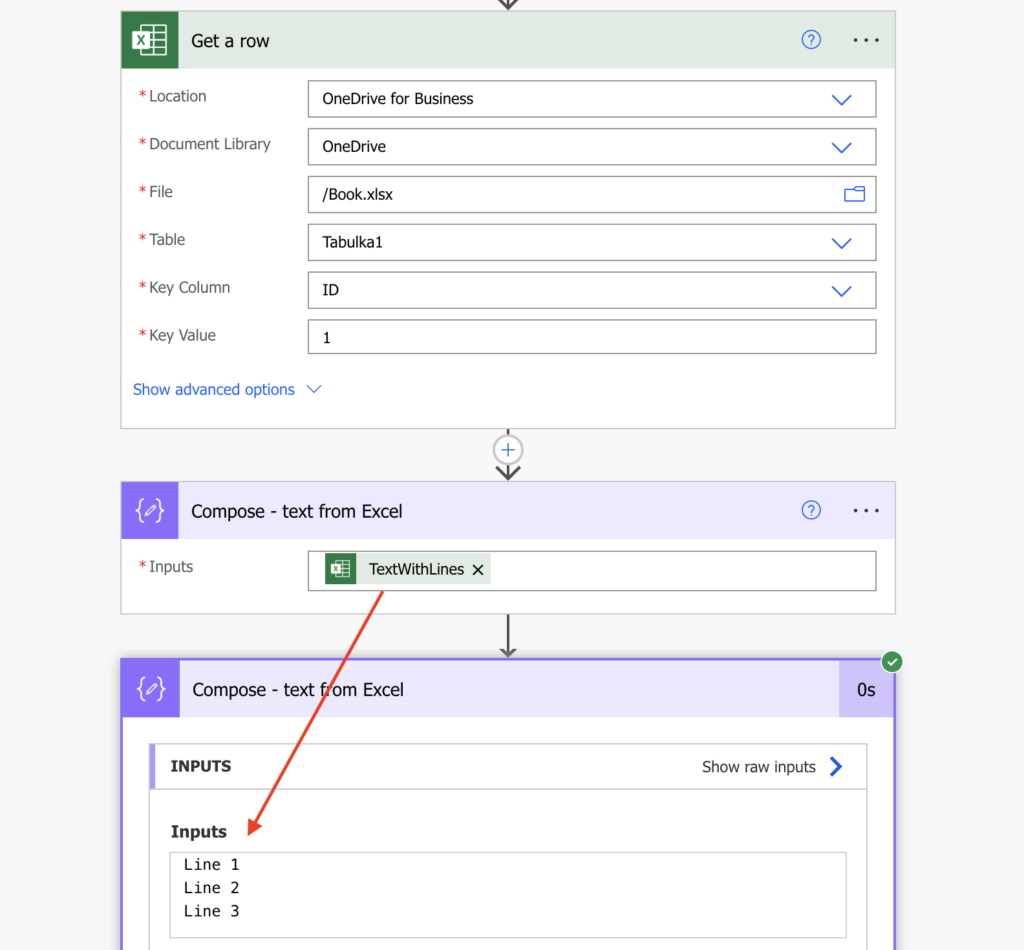
Once you use it in a flow, it’ll automatically replace the \n with a different new line character.

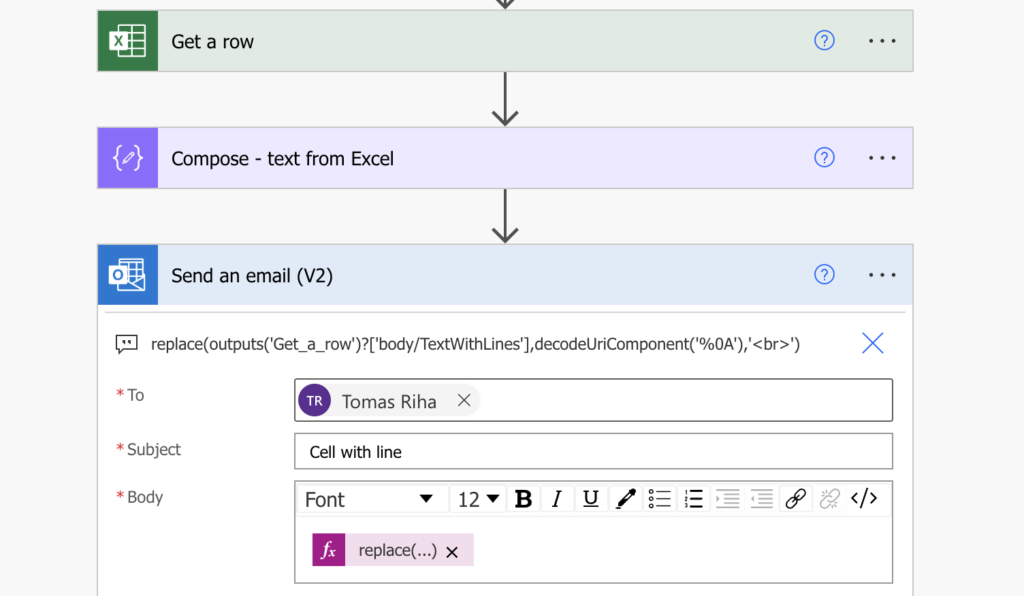
A character that’s different from the one emails expect, which is why you must replace it. Since emails use HTML format, replace it with the <br> tag.
replace(outputs('Get_a_row')?['body/TextWithLines'],decodeUriComponent('%0A'),'<br>')
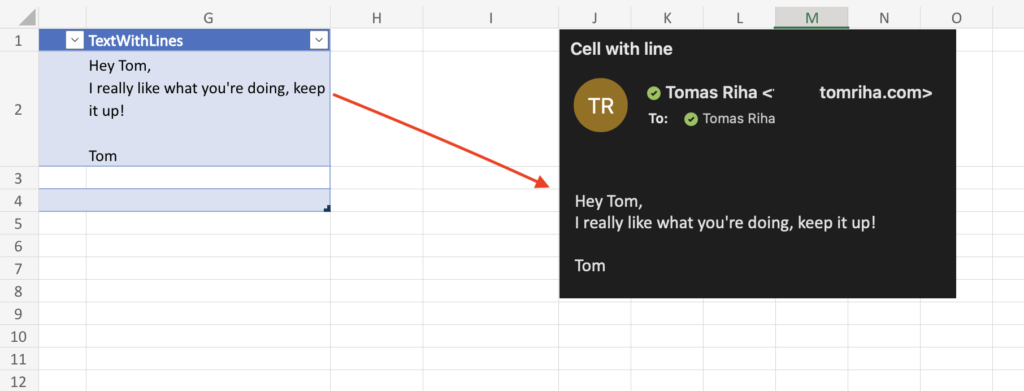
Once replaced the email will look as the text in the Excel file.

Summary
When you process data from an Excel file in Power Automate, you should always check what the data looks like in the flow. In this example you can see that Excel gives you new lines as \n and Power Automate replaces them automatically with its character. That’s where the automated conversions stop.
If you want to send the cell content in an email, you must do the next conversion manually. Replace the flow new line character with the standard HTML tag <br> and send the email.