“I already built a bunch of flows and now it’s hard to remember what they’re doing, what’s the best way to document a Power Automate flow?”
When you build a flow, it’s a good idea to also document it. It’s much easier to remember what each action is doing if it’s not just a bunch of the default actions with a number at the end. Especially if you’re using some complex filters or expressions. And it’s not only for you, it’s also for the others who might use or modify it in the future. How do you make your flows more “future-proof”? What’re the options for documenting a flow?
Rename the action
The most easily visible approach is to rename the actions by adding a few more words about what’s going on.

Does the ‘Compose’ action calculate a difference between times? Put it in the name. Does the ‘Get items’ filter only items that were due yesterday? Add a few words in the name.

Note: When renaming I’d recommend always keeping also the original action name! Not everyone will recognise what the action icon means and what action with the icon did you really use!
While it’s the easiest way to read a flow later, it has also a few limitations. Firstly, you should keep the description in a few words and some characters are forbidden from using. Secondly, you should decide for this way of description at the beginning of building the flow. While it’ll automatically reconnect the action outputs when used later, it won’t reconnect if you use them in an expression. For example, if you’re using expressions to extract value from a JSON or to format a date, renaming the action will break them.
Add a note to the action
Another option is to add notes to the action.

It’s less visible than renaming the action as you must expand it to see the notes, but on the other side it has a lot less limitations than the action name. You can write the description in more detail and also store the expressions directly in the note for backup/easier read.

If, for some reason, somebody deletes or modifies the expression, you still have a backup in the note (unless you change it).
Add a comment to the action
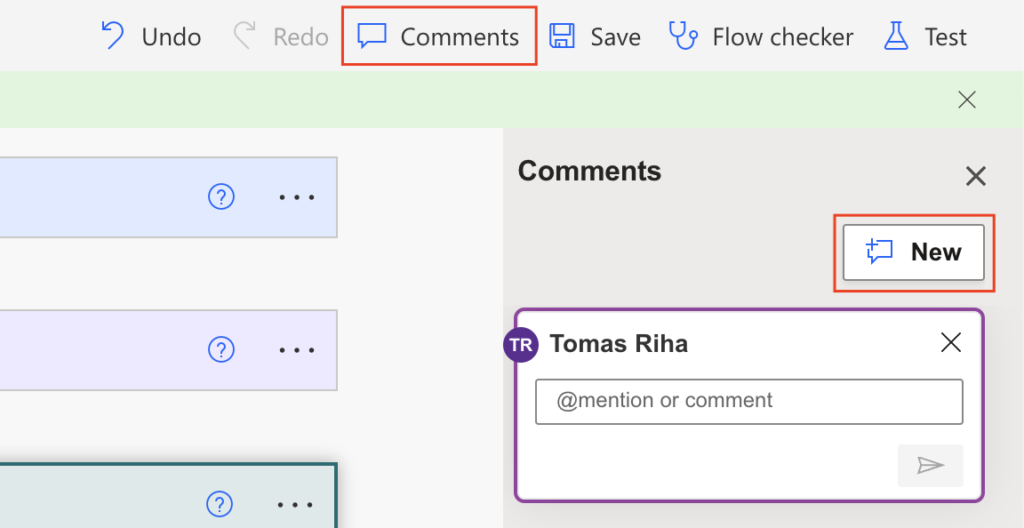
The last option for this article are comments. It’s the same functionality you use in the Office applications – you add a comment, somebody reacts, etc.

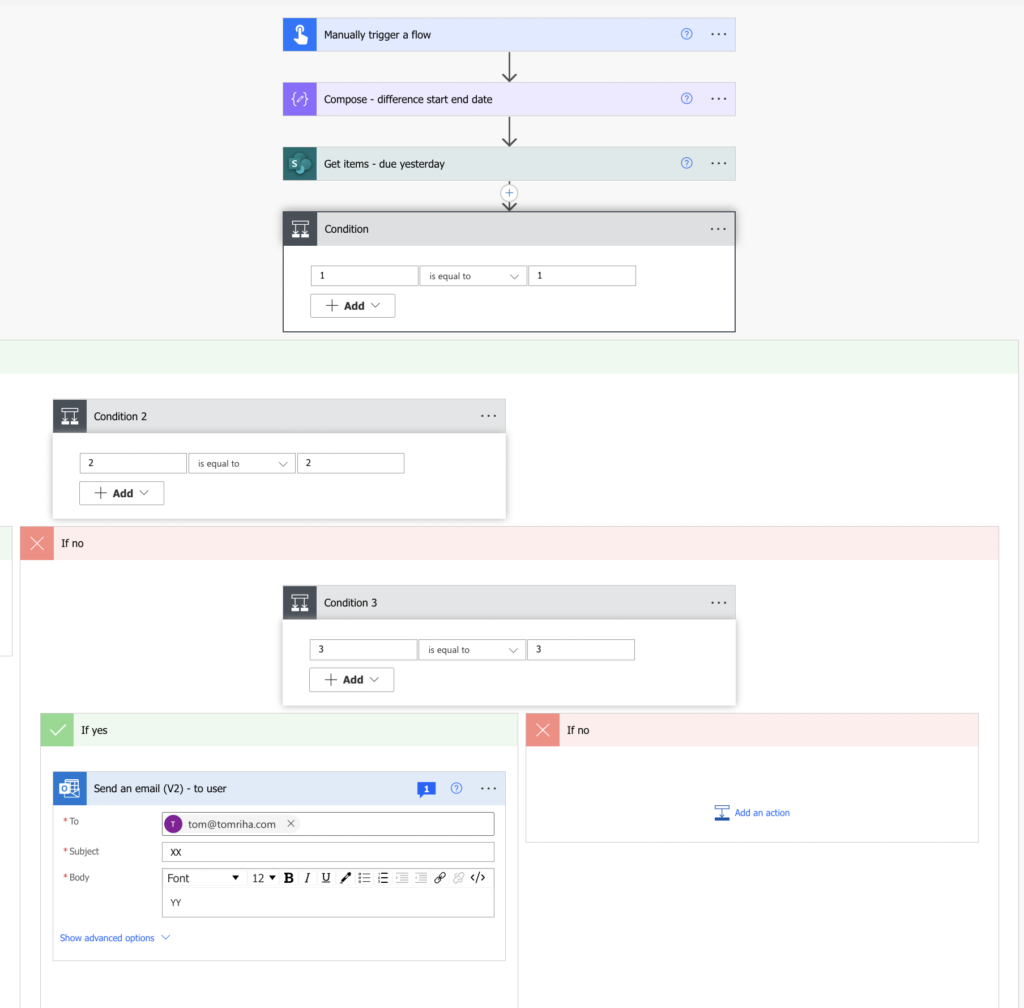
The comments have a nice feature – if you add a comment to an action, it’ll expand the flow to the given action upon click. For example, if I add a comment the ‘Send an email’ action deep in the flow…

…once I open the flow again and click on the comment…

… it’ll expand the flow up to the action.

The problem with comments is that they’re not stored in the flow. If you create a copy of a flow, or move it to another environment, you’ll lose the comments. They seem to be dependent on the environment so don’t bother with them if you’re not in the flow’s final destination…
Summary
When you build a Power Automate flow, you should always use some way to document it. While it might be clear to you what you’re doing, it might be different in a year from today and a few notes will help you to remember. The more notes you create now, the happier you’ll be later.
This article showed you three approaches to flow documentation, where I personally use the combination of the action renaming and notes. Especially the renaming is a key part when I take screenshots of the flows for documentation.
The only time I used comments was to make it easier for other users to find the email actions for potential changes in the wording.
Hi Tom,
First of all, thanks a lot for all your tips, this web is really a great resource when dealing with pretty much anything in Power Automate ( and the fact that you are also from Czechia makes it even better :)).
For the documentation, I can also recommend this tool from GitHub – it can easily create a nice looking Word document, which can be shared with other colleagues:
https://github.com/modery/PowerDocu